
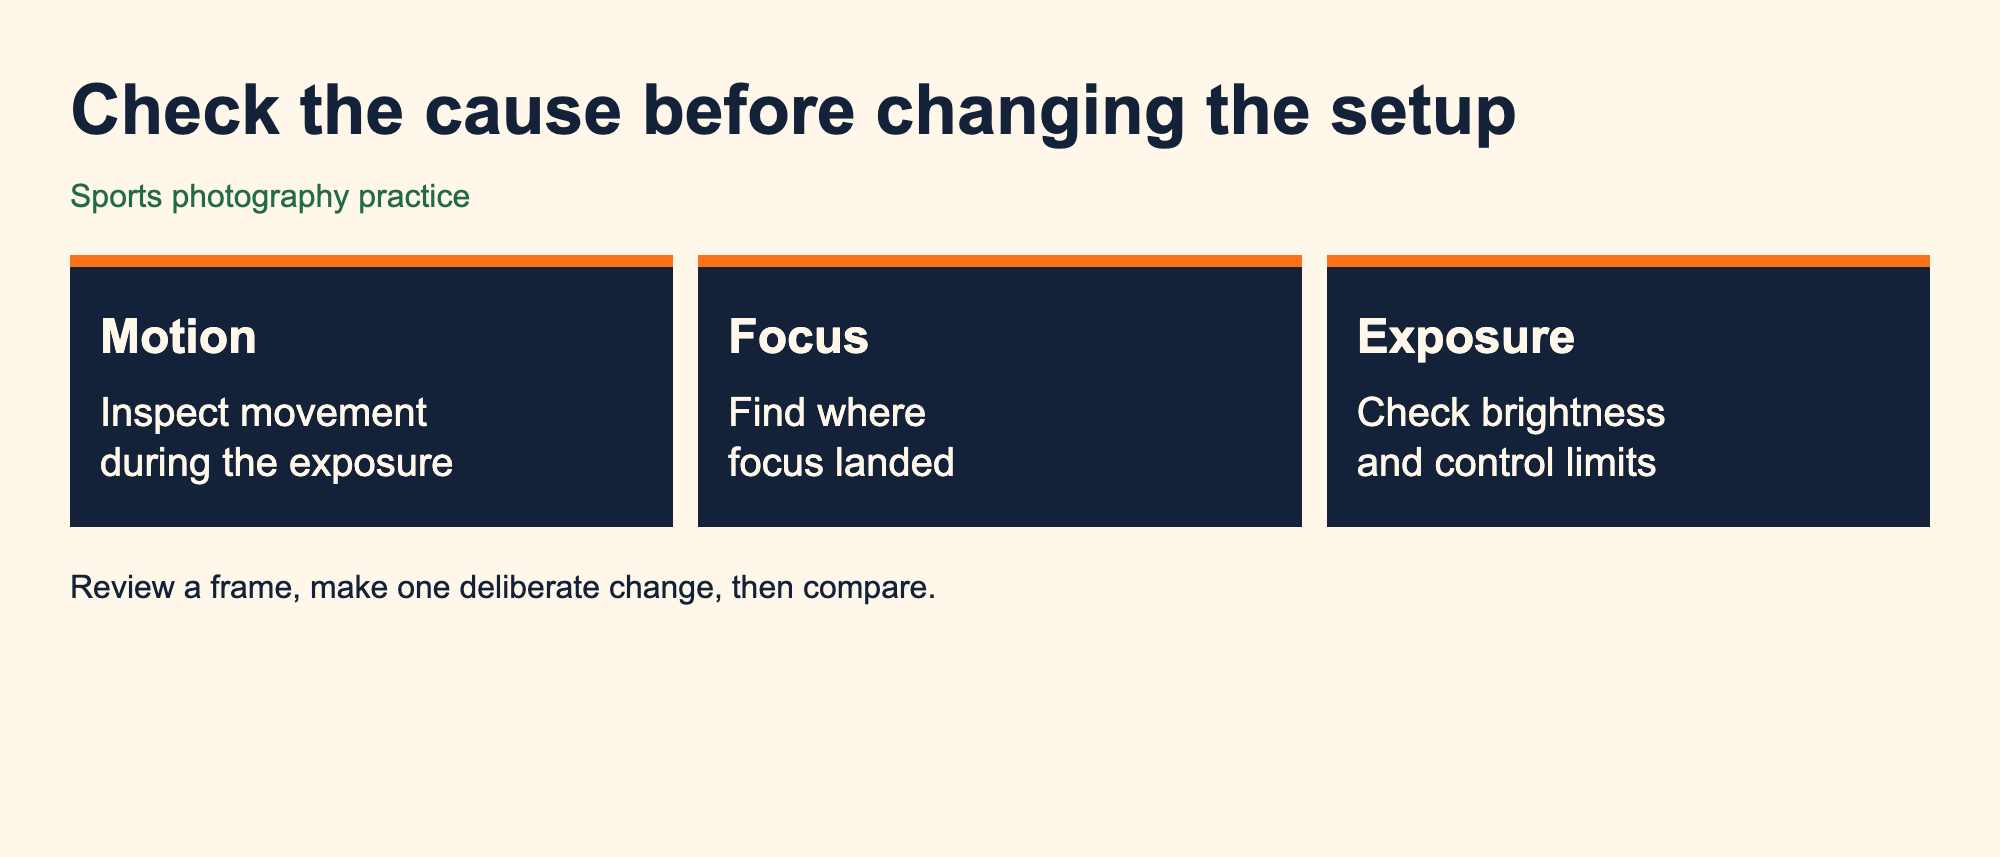
Sports photography camera settings should match the movement you want to show and the light you have. Start by deciding whether you want to freeze the action. Then check shutter speed, focus and exposure separately. A sharp background behind a soft subject calls for a different investigation from a frame with directional streaks.
Use the following process with the camera you already have. Keep its manual nearby because autofocus names, Auto ISO limits and exposure controls vary by model. The goal is a usable starting setup and a repeatable way to improve it during practice.
Choose a starting shutter speed for the action
In Canon’s sports photography guide, photographer Jeff Cable describes a goal of at least 1/1000 second for freezing most sports action. Treat that as an attributed starting point to test. It does not guarantee that every moving ball, foot or racquet will appear sharp.
Take a short sequence during warmups from your permitted position. Enlarge a frame and inspect the part that matters to your intended picture. If the action still trails across the image, try a faster shutter speed and check the next sequence. Also inspect stationary details before deciding that subject movement caused the whole problem.
Write down your first setting. Without that record, you can spend a session changing controls and finish with no clear idea which adjustment helped. A deliberate change is easier to evaluate than several changes made in frustration.
Check the exposure tradeoff
Shutter speed works with aperture and ISO. Nikon’s ISO explanation describes how a fast shutter and the chosen lens opening can leave too little light for the desired exposure. Raising ISO changes the camera’s signal gain; it does not put more light into the scene.
A wider aperture can help in limited light, but your lens determines which openings are available. Cable’s guide also asks photographers to consider the sport, distance and whether the event is in daylight or at night. Copying another photographer’s settings without those conditions leaves out much of the decision.
Check the actual result on your camera. If it is too dark, review the exposure controls and any limits you have set. Do not assume that selecting an automatic option makes every lighting problem solvable. Keep an example frame so you can compare the effect of your next adjustment.
Learn what Auto ISO does on your model
Nikon describes Auto ISO on selected cameras as a way to raise ISO when the light would otherwise require a slower shutter in the configured mode. The available settings and limits are model dependent. Read the section for your camera, including what happens when a limit is reached.
Before the event, find where the camera displays the ISO it actually used. Take a photograph, inspect the recorded settings and confirm that the controls behaved as you expected. Repeat the check in a darker part of the venue if your assignment will include it.
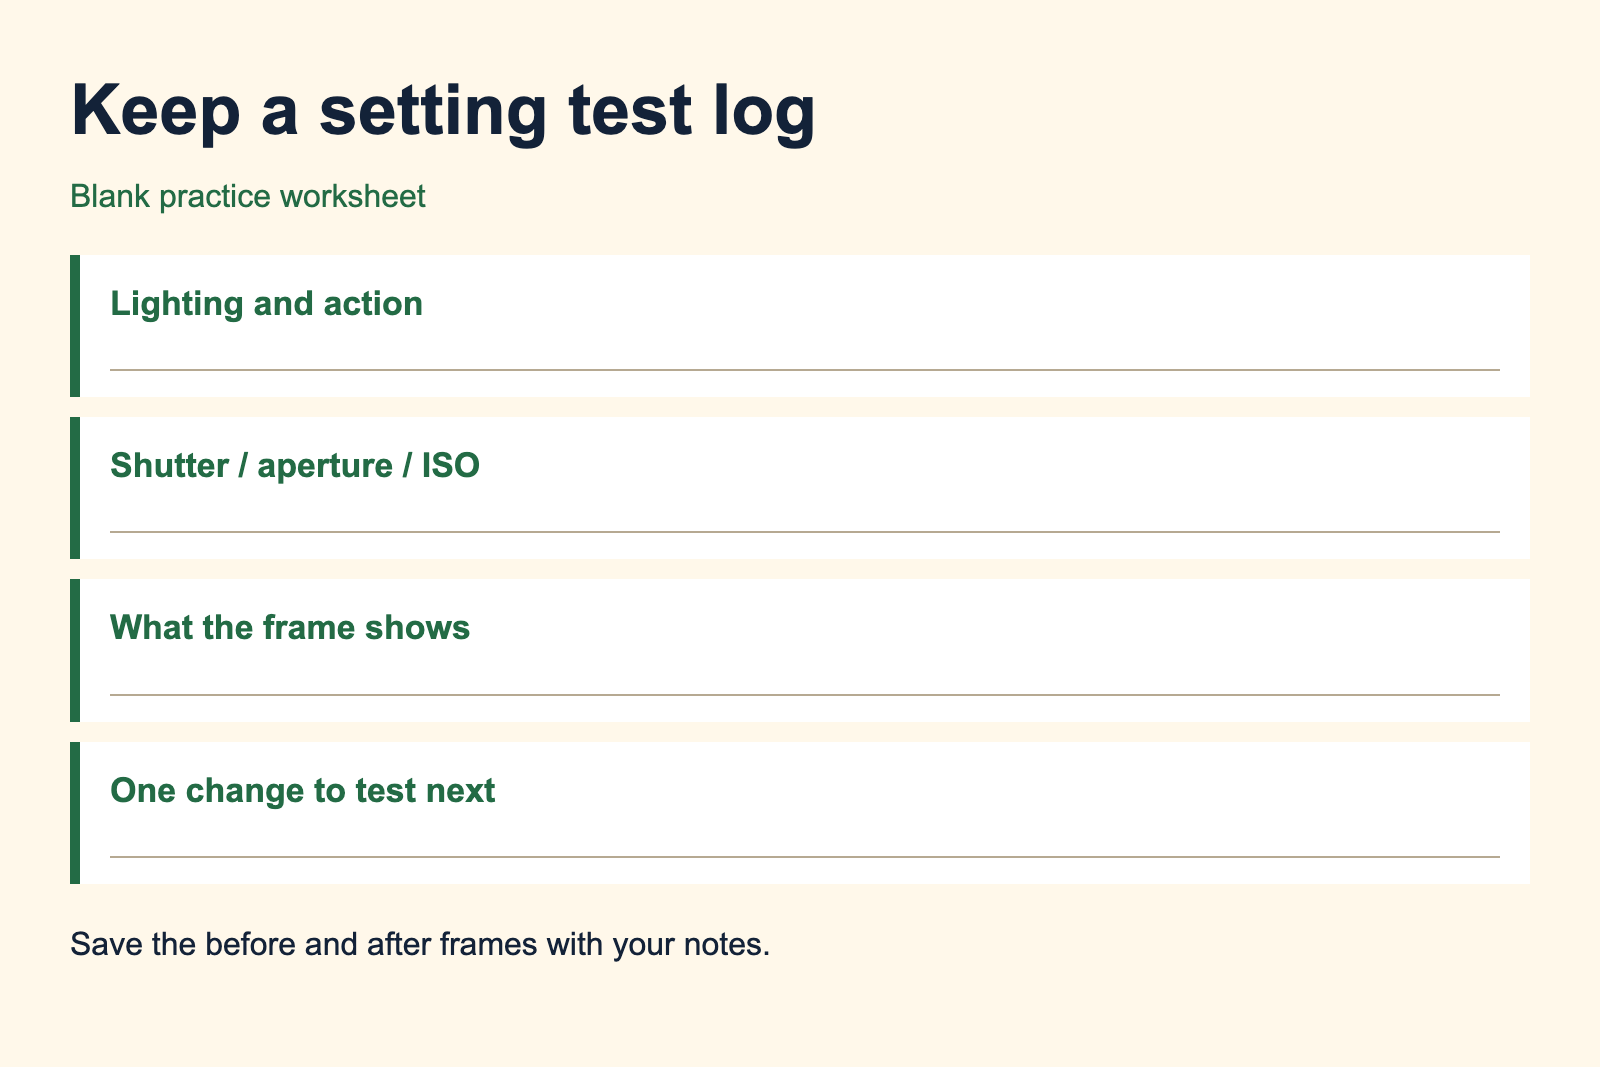
A useful practice note contains the lighting condition, shutter speed, aperture, ISO and your observation. Keep the observation specific: “moving foot still streaked” gives you more to investigate than “bad photo.”
Use continuous focus for moving subjects
The Sony ILCE-6100 focus guide distinguishes single autofocus, which locks after focusing, from continuous autofocus, which keeps adjusting while the shutter button is held halfway. It recommends continuous autofocus for motion. Check the equivalent option and operating method in your own manual.
Practice acquiring the subject before the moment you want to record. Watch whether the focus area stays on the intended subject or moves to a nearby object. A continuous mode still needs a useful target, and Sony lists poor contrast and fast movement among difficult autofocus conditions.
Review focus separately from motion. If another part of the scene is crisp while the intended subject is soft, investigate where focus landed. A faster shutter alone will not relocate that focus. Conversely, continuous focus does not decide how long the exposure lasts.
Run a short, controlled practice test
Choose one type of action you can observe repeatedly from an allowed position. Make an initial sequence, then inspect it before taking dozens more. Record the setting and the visible problem. Change one relevant control and repeat.
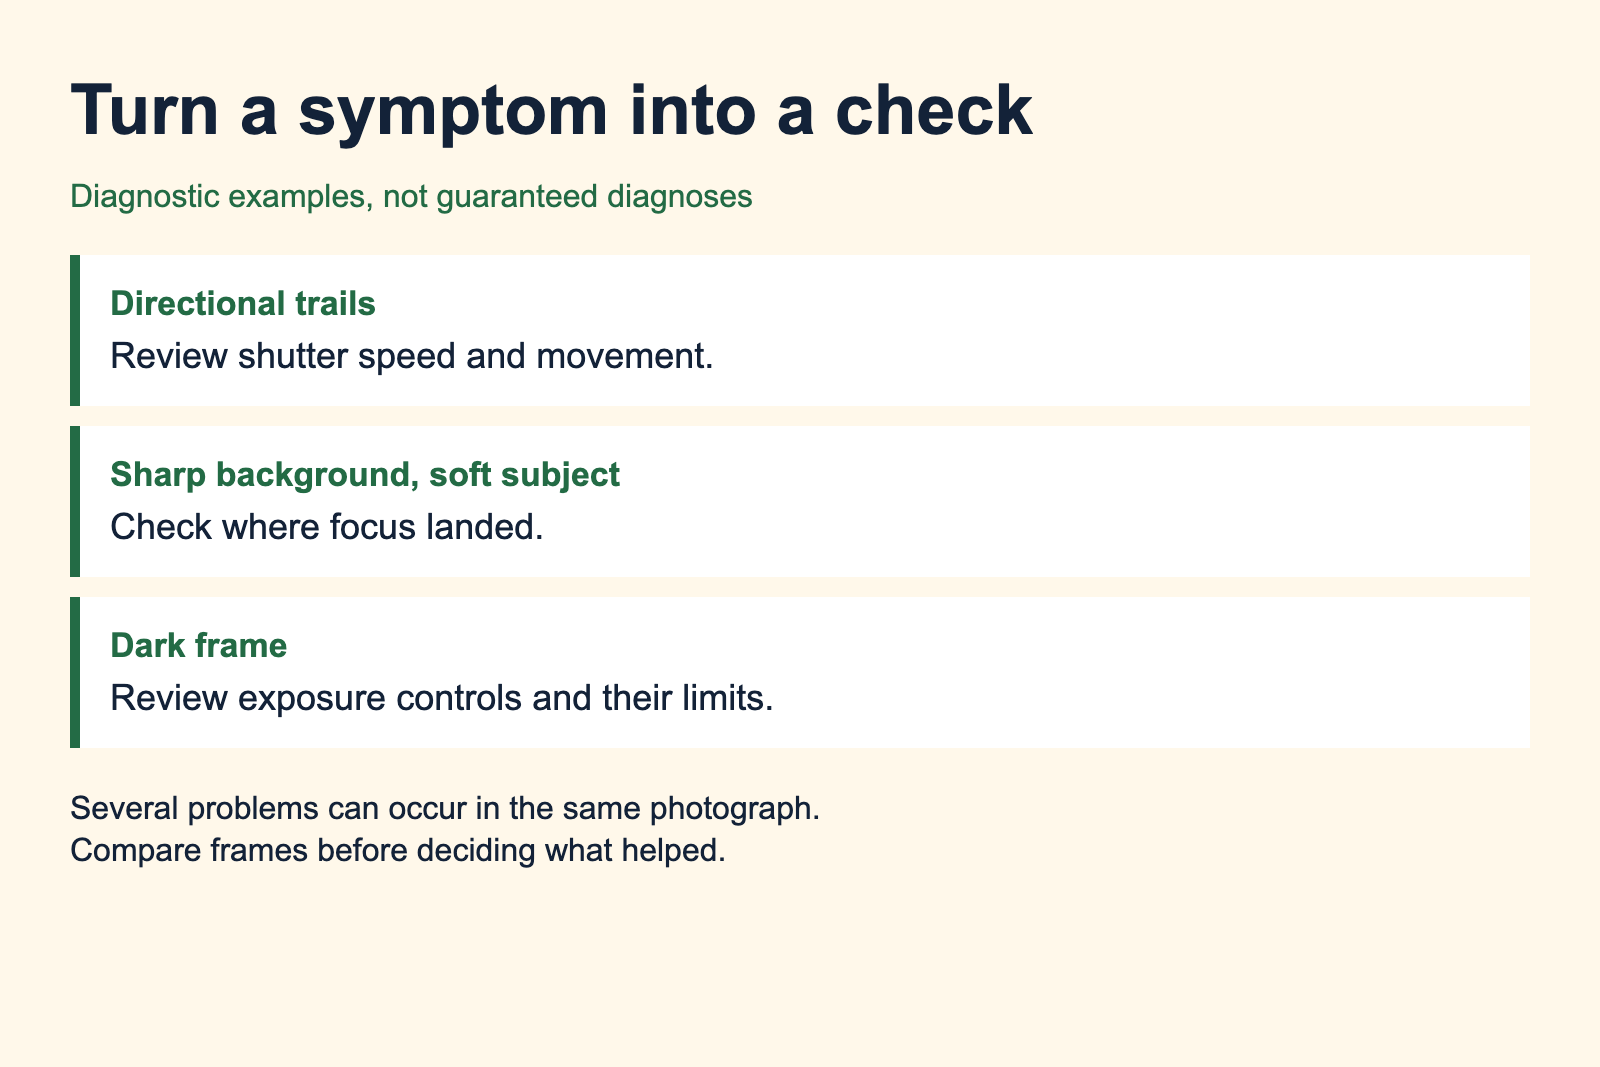
For example, your first note could say that the subject’s body looks sharp but a moving foot has a trail. Test shutter speed first. A different note could say that a fence is crisp while the subject behind it is soft. Start by examining the focus target and your shooting position.
These are diagnostic examples, not findings from a camera test. Real photographs can have several problems at once. Keep both versions and review them together later, when a larger display makes the differences easier to inspect.
Make the settings serve the assignment
Do not spend the entire game inside the menus. Once the setup produces usable frames, pay attention to what your coverage needs. Record identifying information and enough context to explain the photograph accurately.
If the images support a written report, use the sports article workflow to connect the pictures with verified events. Follow the editorial standards when labeling and checking the finished work.
After the session, select a successful frame and an unsuccessful one from the same test. Explain what you changed and what remains uncertain. That record gives your next practice a specific question to answer.
Keep your settings notes with the original files so you can explain a successful frame. Use the portfolio guide to choose a coherent selection with accurate captions.
Sources
- Jeff Cable, Canon, Equipping Yourself for Sports Photography, July 17, 2018. Technical starting point only; dated shopping advice excluded.
- Nikon, ISO Control, accessed September 2026.
- Sony, ILCE-6100 Help Guide, Focus Mode, accessed September 2026. Model-specific control behavior.