
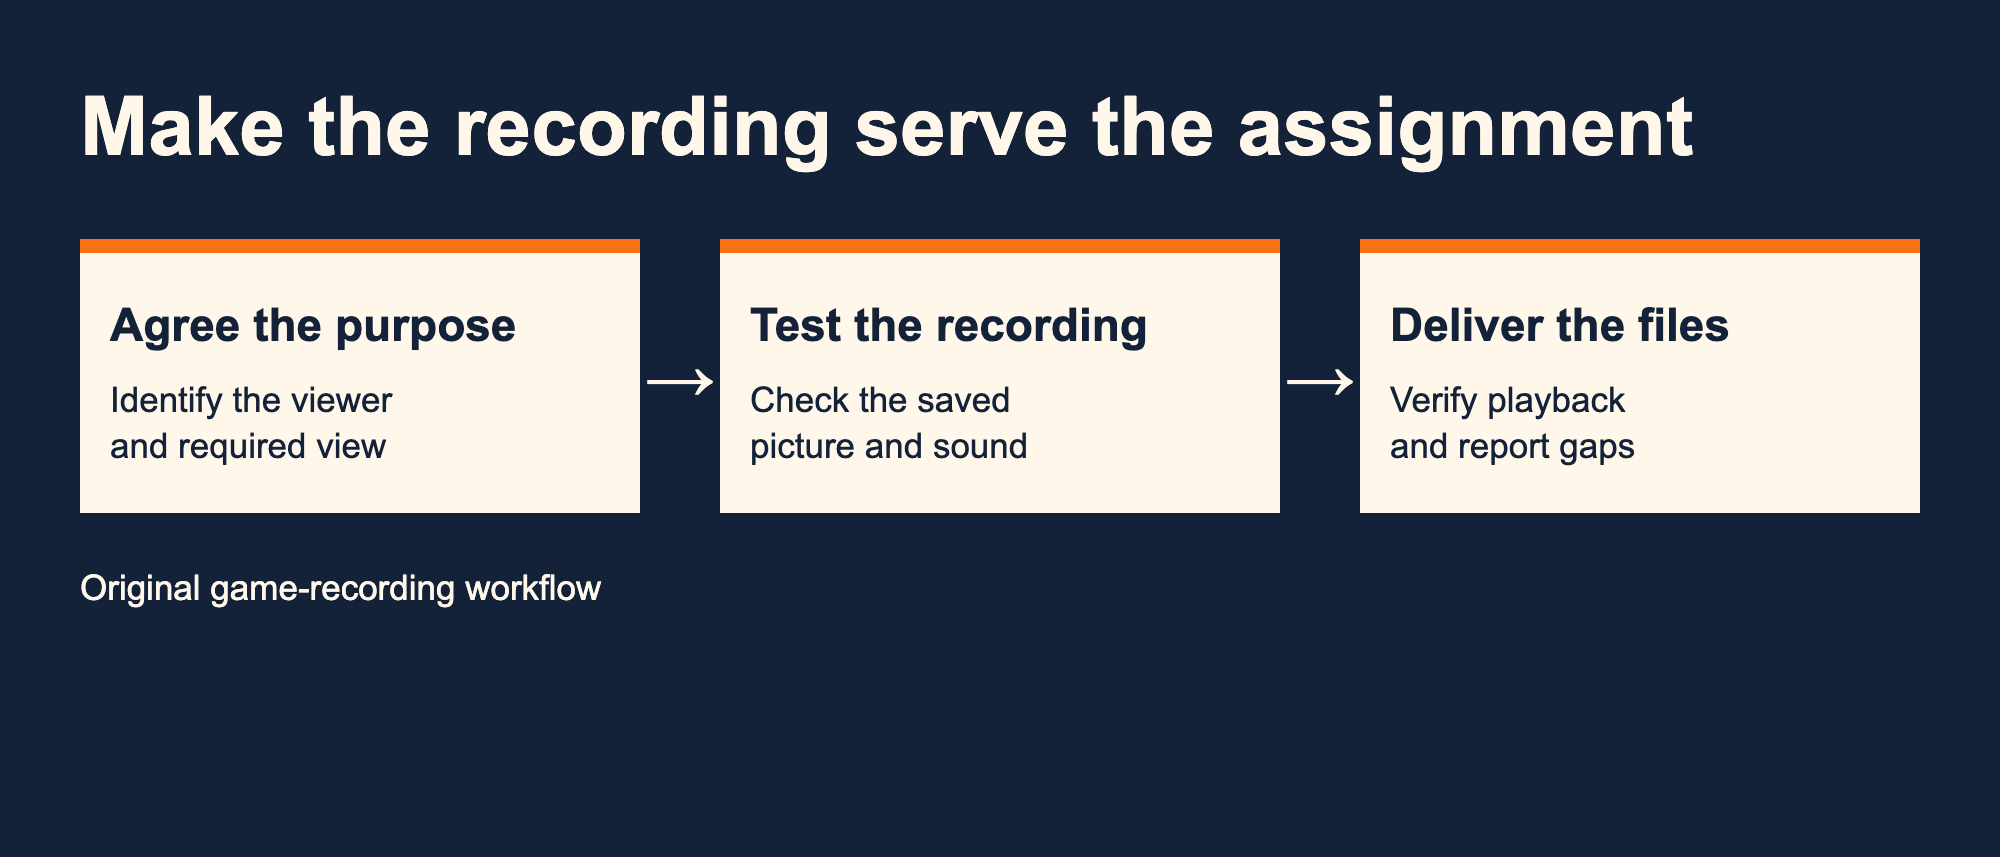
To film a youth football game for a team, first ask what the coach needs to review. Then choose an approved position, test the recording and keep the relevant action visible from setup through outcome. The assignment is to deliver footage someone can use after the game.
A parent’s close-up of one player, team analysis footage and a public broadcast serve different viewers. Confirm which job you are doing before selecting a position or recording plan. This guide uses American football as its main example, with habits you can adapt to another sport’s actual requirements.
Agree on what needs to be recorded
USA Football’s filming guide distinguishes following your own child from recording for the whole team. Ask the coach which players and areas must remain visible and whether they want continuous recording or separate play clips.
Also confirm the delivery deadline, format and destination. A useful conversation happens before the event, when you can test the requested view. If your available position cannot show what is needed, explain the limitation instead of promising footage you cannot capture.
Ask the organizer about access, equipment placement and the intended use of the recording. Check public distribution separately from the recording assignment. Keep those arrangements with your notes and follow the event staff’s directions on arrival.
Set up in a stable, permitted position
USA Football recommends a tripod and framing that captures the play without constant zoom changes. Use support appropriate to the equipment, following its instructions. Keep the setup clear of walkways and activity, and work from a location the organizer allows.
Check the view in both directions the action can travel. Look for barriers, spectators or structural posts that will hide part of the play. Practice moving the camera smoothly across the useful area before the game begins.
Do not improvise an elevated platform or unattended tall rig to gain a better angle. If the approved position is limited, document that fact and agree on the best coverage you can provide from it.
Test the saved recording
Make a local test and play it back. Confirm that the intended picture and sound reached the file, that the image is level and that your movement is smooth enough to follow. Seeing a live picture on a screen does not prove that recording is working.
For a computer-based setup, the OBS Quick Start Guide explains selecting sources, checking audio devices and running a test. Apply that verification to the actual equipment you will use. A direct-to-camera recording still needs playback and a transfer test.
Check available storage and power against your planned session, including setup and possible delays. Learn your device’s recording limits from its manual and a realistic test. Do not discover a limit for the first time during the part of the game you were assigned to cover.
Keep the play understandable
Start with enough of the setup to locate the action. Follow the relevant movement and keep the outcome visible. Avoid tightening the frame so far that you lose information the coach requested.
In American football, practice your recording routine during warmups or another permitted session. If the agreed method uses separate play clips, rehearse restarting early enough to include the setup. If you cannot reliably do that, discuss continuous recording and later clipping with the coach.
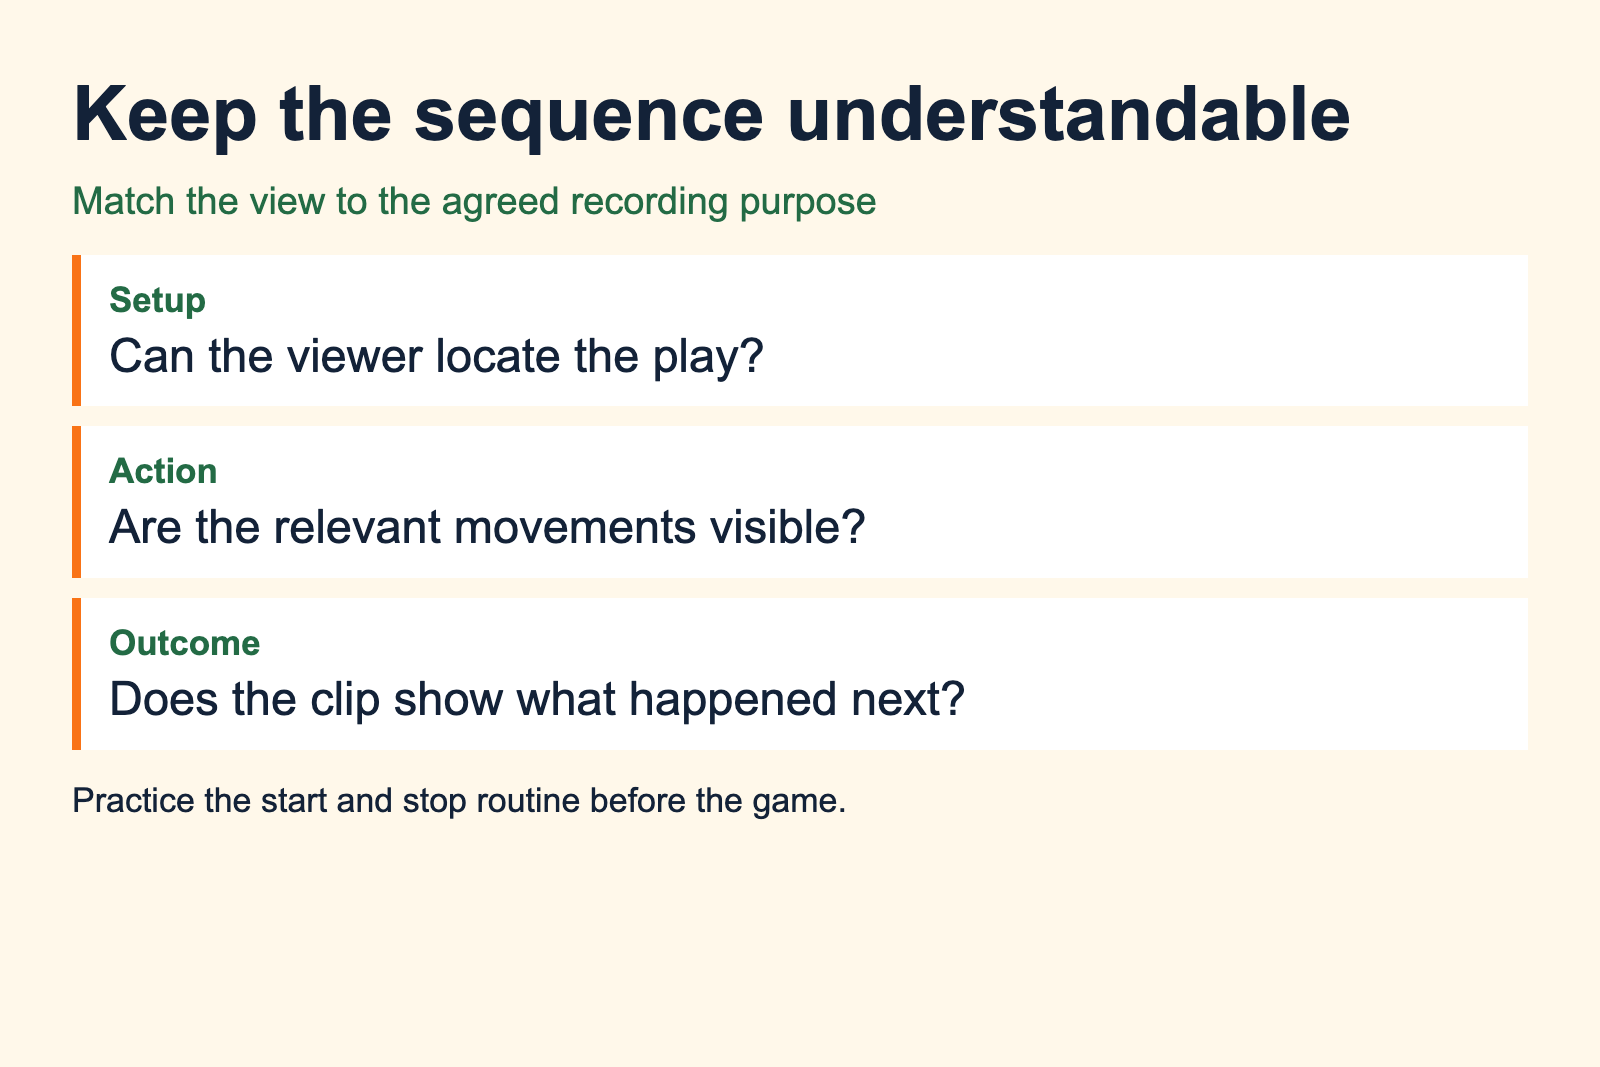
Keep watching through the end of the event you are recording. Do not celebrate, turn to a conversation or review the screen while an important part of the sequence is still developing. Your attention is part of the recording setup.
Make checks during suitable breaks
Use breaks to confirm that the device is still recording as intended and has sufficient power and space. Check whether the framing has shifted. Avoid changing several settings at once unless the current recording is unusable and you understand the fix.
Hudl’s account of coaching-film requirements describes scoreboard shots as an aid to later tagging. Ask whether your recipient wants those reference shots and when they fit the recording plan. Do not leave live action merely to capture a display.
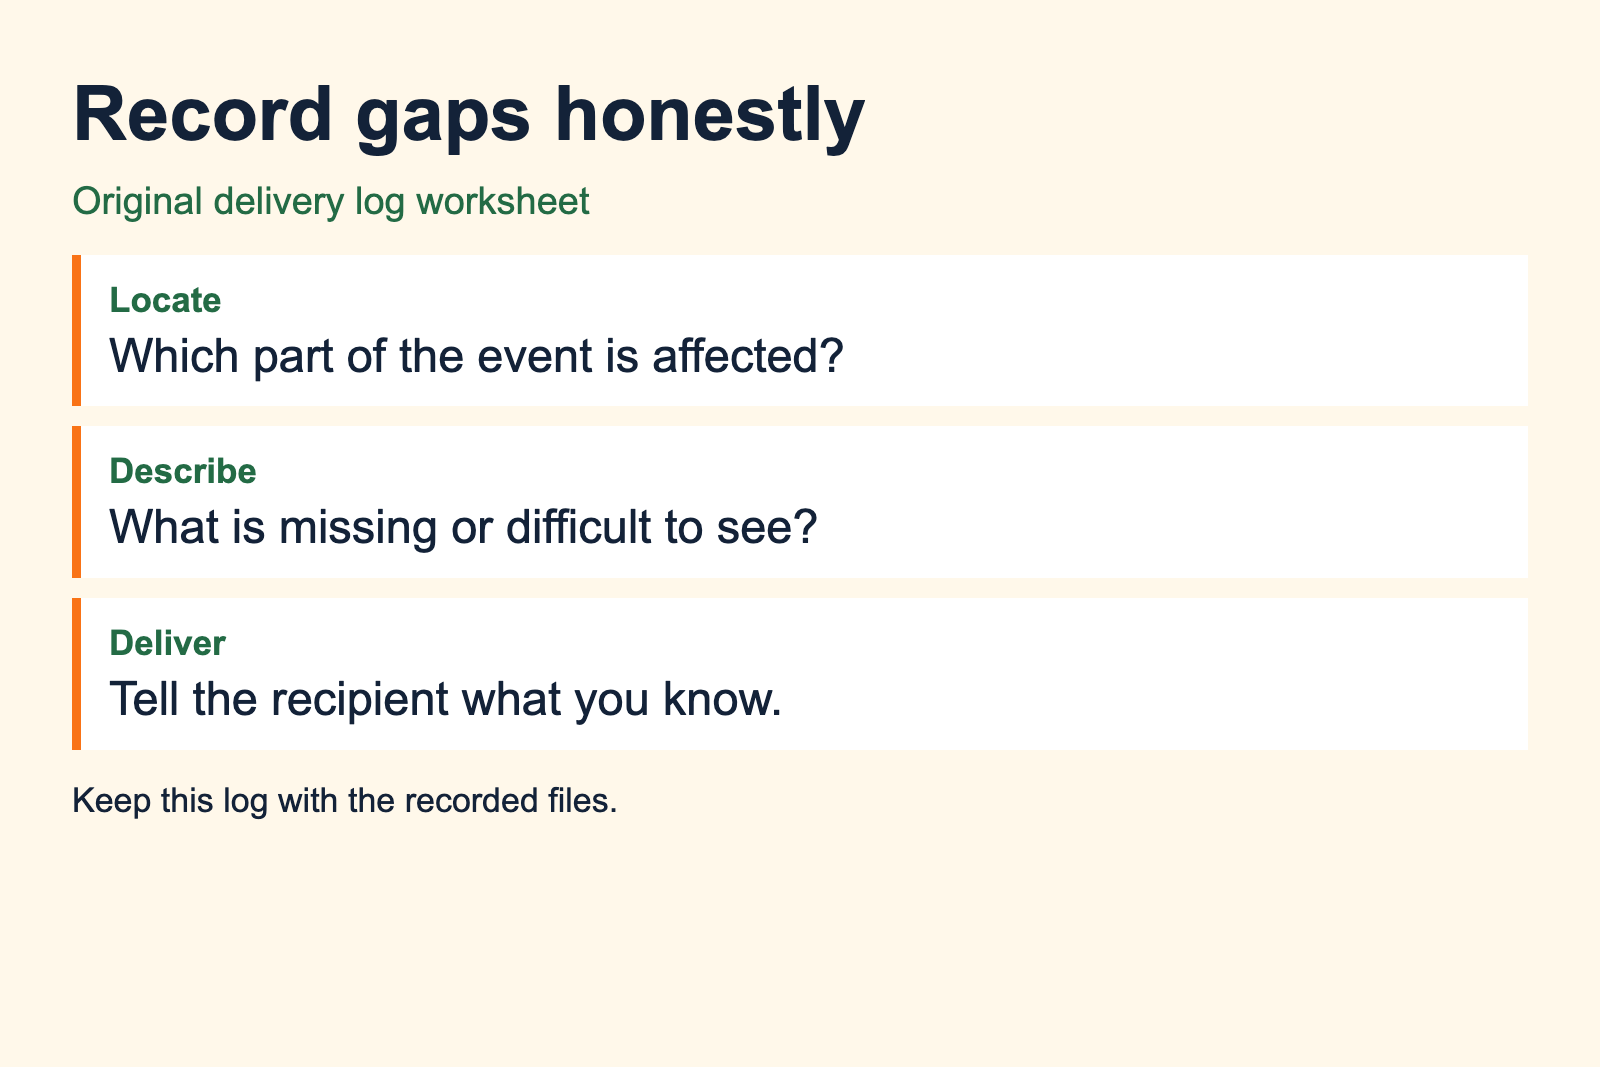
Keep a short log of interruptions or problems. If a clip is missing, note the identifiable part of the game and what you know about the gap. The recipient needs an accurate account of the footage, not an assurance that everything is complete when it is not.
Transfer and check the delivery
Copy the files into a clearly named event folder and confirm that they open. Keep the originals while the delivery is being checked. Do not erase the recording media merely because a transfer window reported completion.
Review the file list and sample playback across the event, including the beginning and end. If the recipient requested a complete game, confirm that the recording covers it and report any gaps. Check that the delivery link works with the intended permissions.
For selected clips, use the highlight-reel workflow to preserve context through editing and export. Keep the complete source available for a coach or editor who needs to examine a sequence more closely.
Improve the next recording
Ask the recipient whether the framing showed the information they needed. Review one difficult sequence together and identify a change you can practice before the next game. That could mean a wider view, a smoother movement or an earlier recording start.
If commentary is part of your assignment, prepare it with the play-by-play guide and test the audio alongside the picture. Confirm who operates the camera when the announcer needs to concentrate on speaking.
Preserve your source footage and recording notes. When selecting material for a production demo reel, explain which camera and editing work you handled.
Sources
- Joe Stepanek, USA Football, A Guide to Filming Youth Football, July 17, 2015. Stable filming principles only.
- Brad Hilligoss, Hudl, Training the Eye in the Sky, May 7, 2021. Coaching requirements; product promises excluded.
- OBS, Quick Start Guide, August 25, 2021, accessed September 2026.