
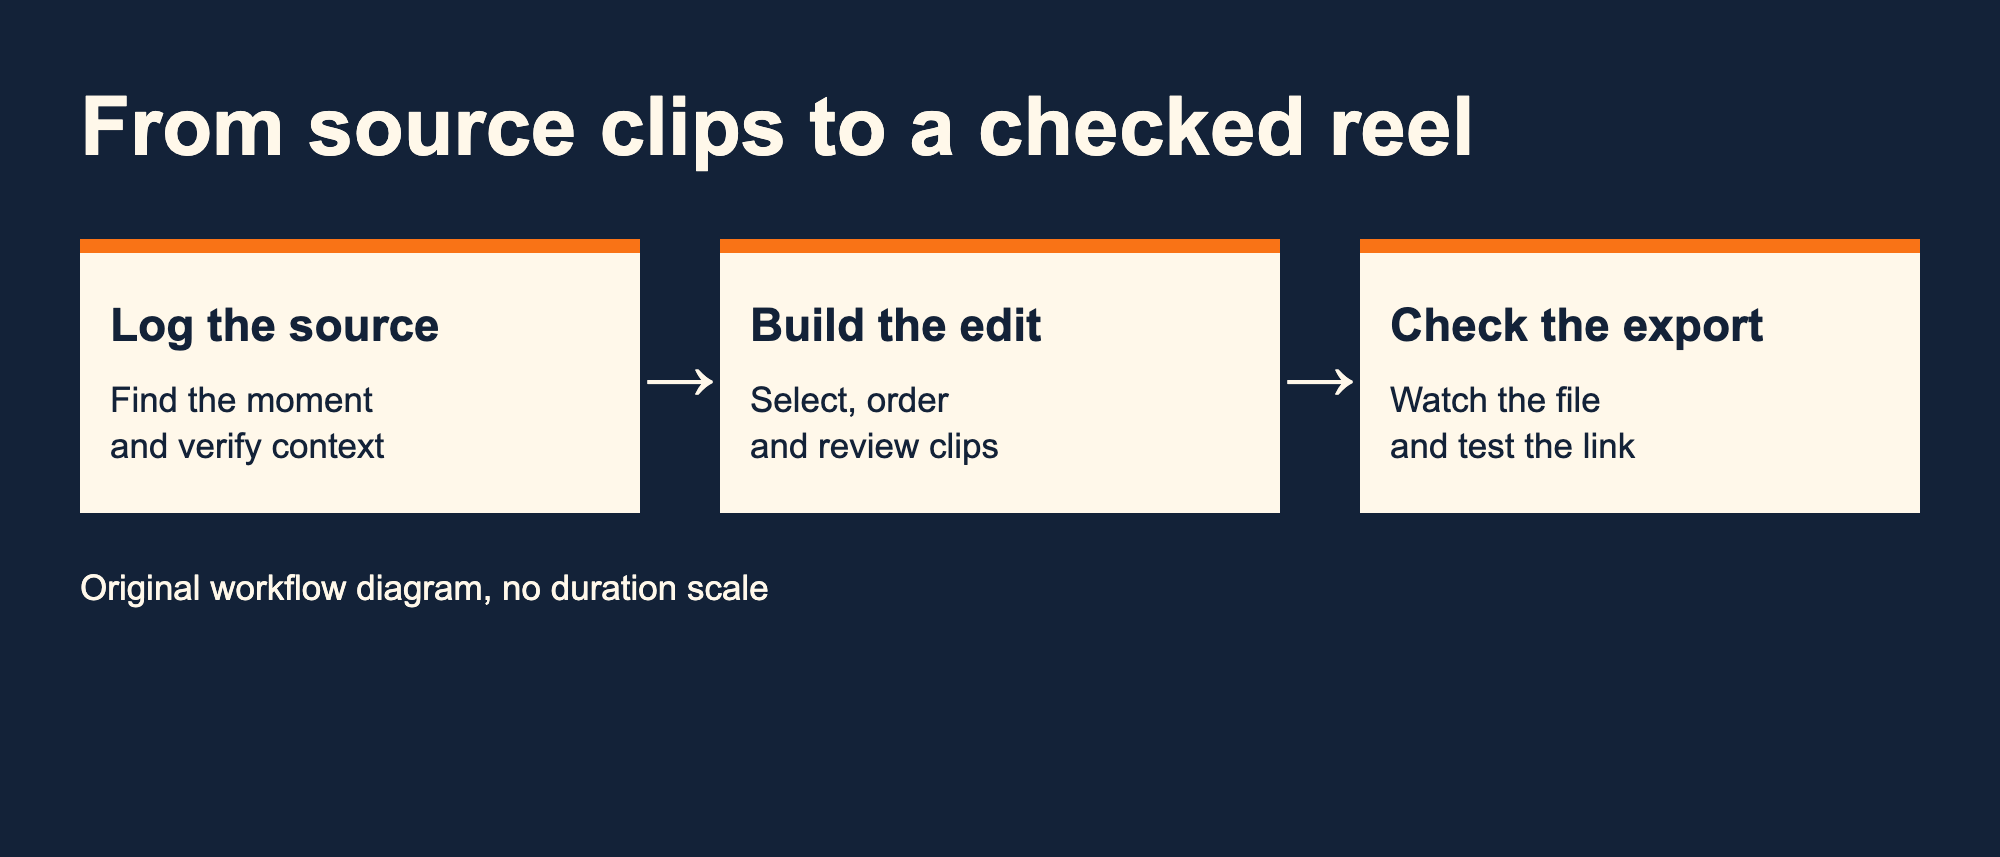
A useful sports highlight reel gives a specific viewer a clear reason to keep watching. Decide who that viewer is, select clips that serve the purpose and preserve enough of each moment to understand what happened. Finish by checking the exported file and its viewing link.
An athlete recruiting reel, an event recap and a video editor’s work sample need different choices. Write the purpose in a sentence before opening the timeline. If you are making an assigned reel, confirm that sentence with the person who will use it.
Choose the purpose and delivery format
A recruiting reel helps a coach assess an athlete’s relevant work. An event recap explains selected moments from a competition. A creator sample shows the filming, editing or other production contribution you actually made.
Ask the recipient about length, orientation, file format and where the video will be watched. Use those requirements when they exist. Without them, make a short first cut that fulfills the purpose and ask for focused feedback before polishing every transition.
Do not assume that one version suits every destination. A tight crop for a phone can remove information that a coach needs to evaluate a play. Inspect the actual framing in each version you intend to deliver.
Build a source log before cutting
Hudl’s highlight workflow begins with tagging plays from game film before building the reel. Use the same organizing principle in whichever editor you use: identify the promising moments before assembling them.
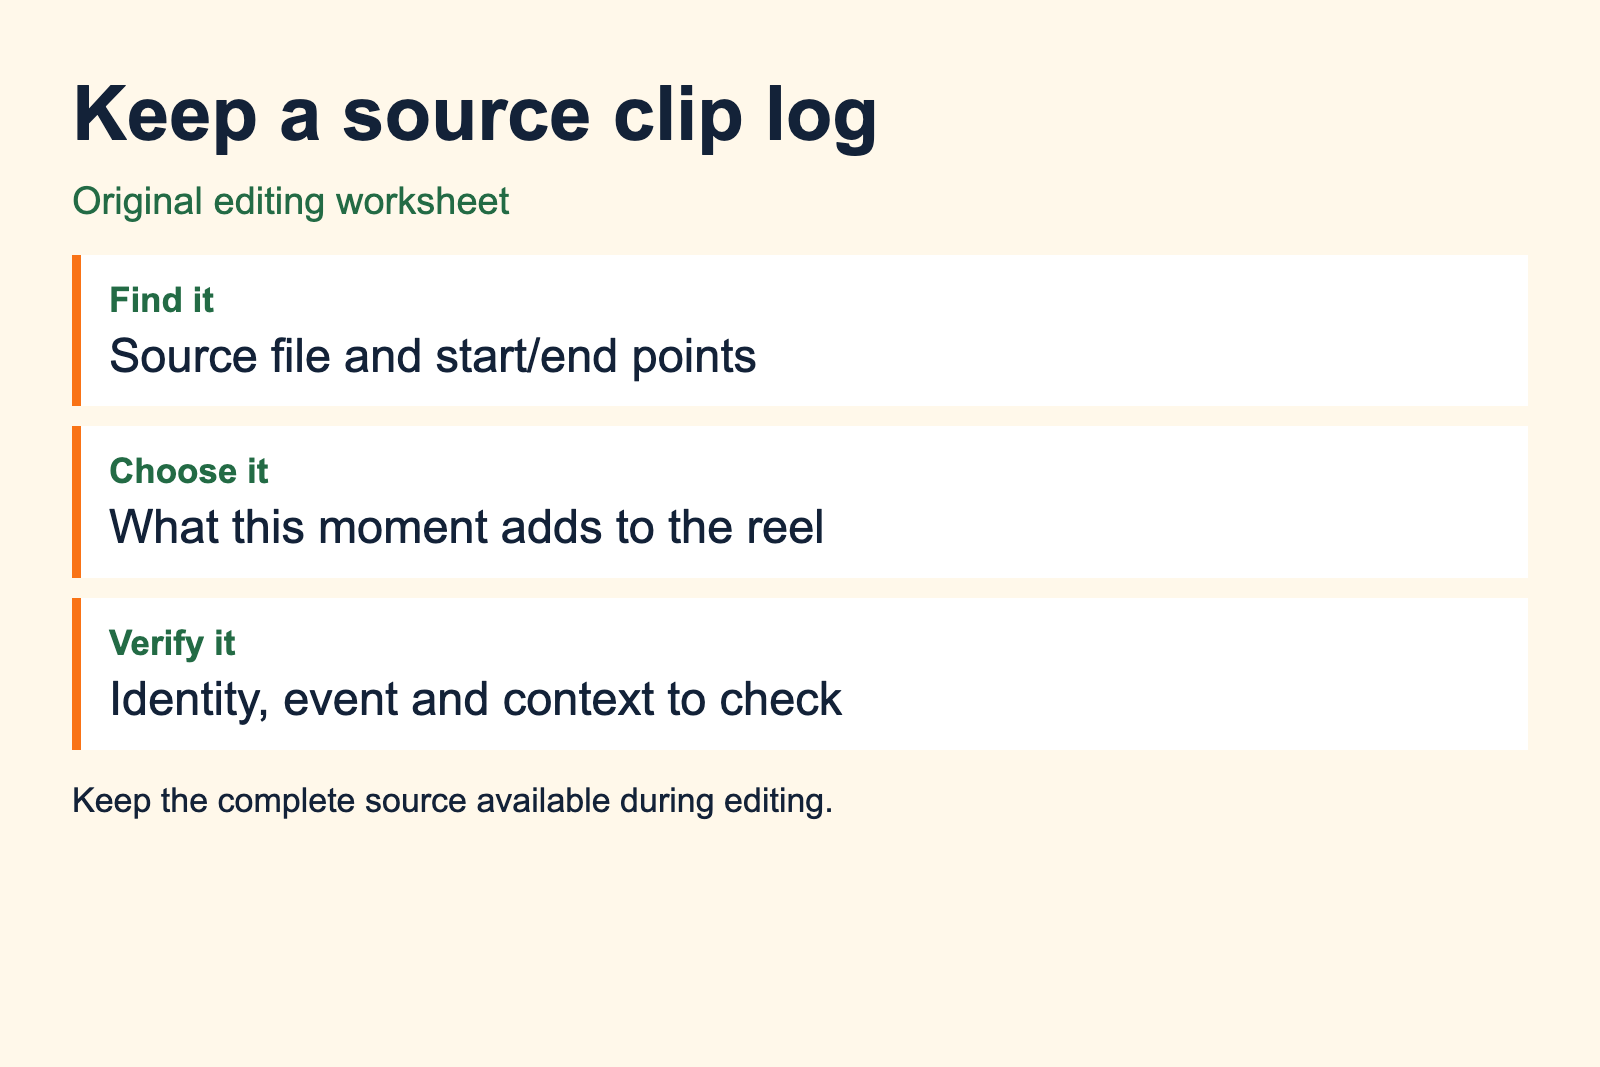
For each candidate, record the source filename, where the moment begins and ends, and why it belongs. Add any identification or context that must be checked. Keep the original material separate from the exported versions so you can return to the full sequence.
Use footage and audio cleared for the intended use. If someone supplied the material, clarify the arrangement before publishing. A downloaded clip or an available song is not enough information to establish that arrangement.
Select clips with enough context
Hudl’s volleyball recruiting guidance recommends putting strong, relevant clips early. That is useful audience-specific advice, but its duration suggestion is not a universal rule for every sport or kind of reel. Follow the recipient’s brief when it differs.
Show enough setup for the viewer to locate the action. Keep the outcome when it is needed to understand the play. Avoid ending a clip at a point that implies a successful result the full footage does not support.
For an original practice exercise, choose a clear opening moment, another clip that adds different information and a final clip that completes the intended point. Write a reason for each choice. If two clips serve the same purpose, compare them and keep the stronger one.
Make the rough cut understandable
Assemble the selected clips in a plain sequence first. Watch it without music or decorative effects. Ask whether the viewer can follow the subject and understand why the clips appear in that order.
Use identification when the intended viewer needs it, but keep labels away from the action. Check names, dates and event descriptions against your source notes. If your assignment is documentary coverage, preserve the event’s meaning through the edit, consistent with the NPPA’s visual integrity principles.
Show the rough cut to someone who has not seen the source footage. Ask where they became confused. A comment such as “I could not find the athlete before the play started” gives you a specific edit to make.
Choose audio deliberately
Listen to the source sound before adding anything. A useful call, interview line or natural sound can carry information the pictures need. Remove accidental gaps and abrupt level changes that distract from the sequence, and keep speech intelligible.
If you add music, check the terms for the particular track and destination. YouTube’s Audio Library guidance says Creative Commons tracks require attribution in the video description and explains how to copy that credit. Its guidance does not establish permission for every piece of music found elsewhere.
Keep a record of the track and required credit with the project. Review the final audio on headphones and ordinary speakers. Music should support the chosen purpose without hiding information the viewer needs.
Export the finished sequence
A project file is the editing workspace; the recipient generally needs a watchable output or viewing link. Select the finished sequence before exporting. In Adobe’s current Premiere export guide, the workflow includes choosing the source, format and preset, then checking video and audio settings.
Confirm frame size, frame rate and the other required delivery settings. Use the destination’s specification rather than assuming a named preset is always correct. Give the output a filename that identifies the assignment and version.
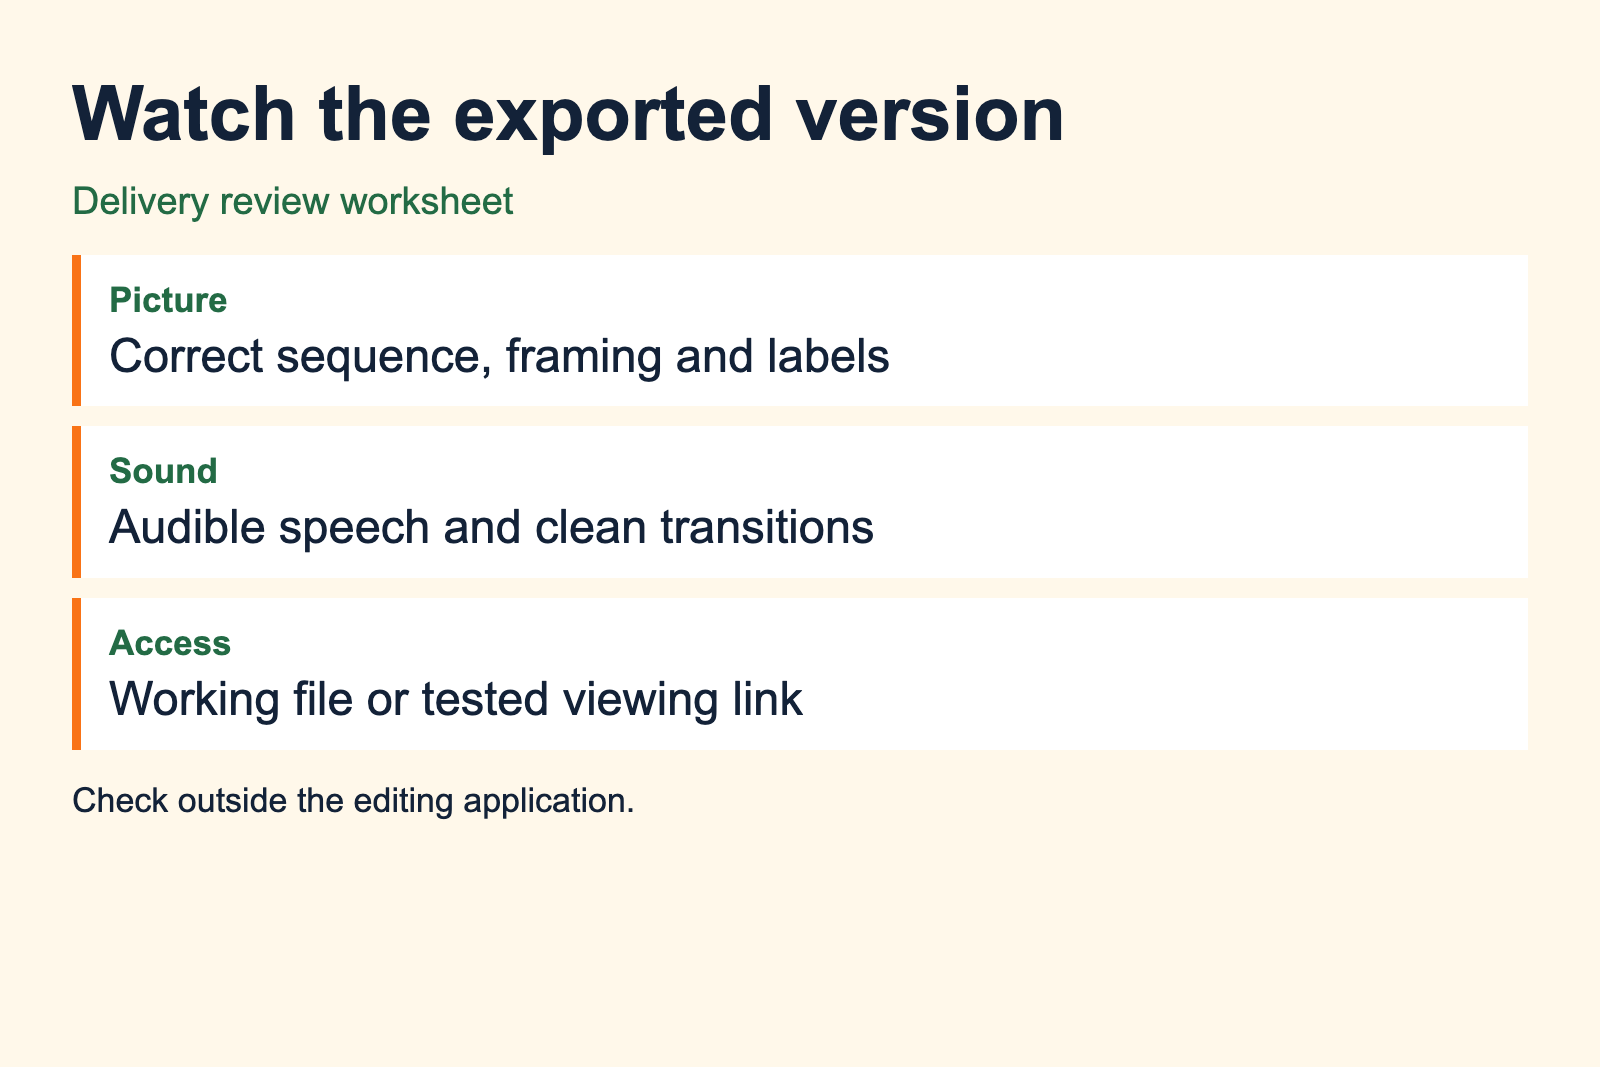
Open the exported file in a player outside the editor. Watch from beginning to end with sound. Look for missing media, wrong titles, accidental black frames, cropped action and an ending that cuts off early.
Check the link and identify your contribution
If you deliver through a viewing link, test its permissions as a viewer who is not signed into your account. Confirm that it opens the intended version and plays correctly. Keep a copy of the delivered file and the source log.
For a portfolio, say what you did: filming, selection, editing, graphics or another defined role. Use the first-assignment workflow for scope and delivery habits, and the coverage review questions to judge whether each selected moment adds information.
If the purpose is to show your own editing or production skill, use the sports media demo-reel guide. Identify your contribution and keep permissions with the source footage.
Sources
- Hudl, Build Highlights, club volleyball guide, accessed September 2026.
- Adobe, Export Video and Audio Files, updated April 22, 2026.
- YouTube Help, Audio Library guidance, accessed September 2026.
- NPPA, 2026 Best of Photojournalism visual integrity guidelines.